

Disclosure: Some links on this site are affiliate links. As Amazon Associates, we earn from qualifying purchases (at no cost to you).
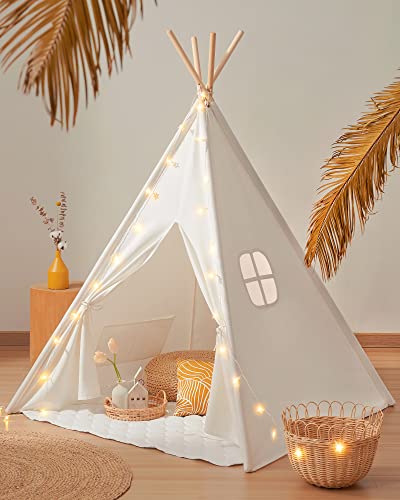
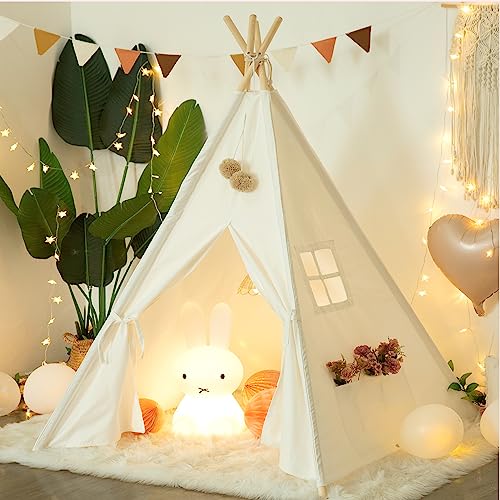
Montessori tents are a fantastic addition to any child’s playroom or bedroom, providing a cozy and inviting space for imaginative play, reading, or relaxation.
These tents are designed to foster independence and creativity, aligning perfectly with the Montessori educational philosophy.
In this article, we’ll explore 10 amazing Montessori tents for kids that will inspire endless hours of fun and learning. Feel free to scroll down to see more decor inspo!


How to Create a DIY Montessori Tent
Creating a DIY Montessori tent can be a fun and rewarding project that allows you to customize the design to suit your child’s preferences and your home decor.
Here’s a simple guide to get you started:

Materials Needed:
- Four wooden dowels or poles (about 6 feet each)
- A large piece of fabric or an old bedsheet
- Rope or sturdy string
- Scissors
- A sewing machine (optional)
- Decorative elements (optional, such as fairy lights or bunting)
Steps:
- Construct the Frame: Arrange the four poles in a square or teepee shape, with the tops meeting at a point. Secure the tops together with rope or sturdy string, ensuring they are tightly bound and stable.
- Attach the Fabric: Drape the fabric over the frame, ensuring it covers all sides evenly. You can either sew the fabric into a tent shape beforehand or use safety pins to secure it directly onto the frame. Make sure the fabric is taut and doesn’t sag.
- Secure the Fabric: If using a sewing machine, hem the edges of the fabric for a neat finish. You can also add ties or Velcro strips to fasten the fabric to the poles, keeping it in place.
- Decorate: Add any decorative elements you like. String fairy lights around the frame, hang bunting from the top, or place a soft rug and cushions inside to make the space cozy and inviting.
- Safety Check: Ensure the tent is stable and that there are no loose parts or sharp edges that could harm your child. Place the tent in a safe area of the room where it won’t tip over easily.

FAQ
Q: What age is appropriate for a Montessori tent? A: Montessori tents are suitable for children aged 2 and up. Ensure the tent is sturdy and safe, and always supervise younger children during play.
Q: How can I make the tent more educational? A: Add Montessori-inspired toys and books inside the tent to create a learning environment. Soft puzzles, sensory toys, and a small bookshelf can turn the tent into a mini classroom.

Q: Can I use a Montessori tent outdoors? A: Yes, many Montessori tents can be used outdoors. However, ensure the materials are weather-resistant and bring the tent inside during inclement weather to prevent damage.
Q: How do I clean the tent? A: For fabric tents, remove the fabric cover and machine wash it according to the care instructions. Wooden or plastic frames can be wiped down with a damp cloth and mild soap.
Q: Are Montessori tents easy to store? A: Yes, most Montessori tents can be easily disassembled and stored flat. This makes them convenient for small spaces or for when the tent is not in use.

Final Thoughts
A Montessori tent can be a wonderful addition to your child’s environment, providing a dedicated space for play, relaxation, and learning. Whether you choose to buy a ready-made tent or create a DIY version, the key is to ensure it’s safe, comfortable, and inspiring for your child.

These tents not only offer a cozy retreat but also promote independence and creativity, aligning perfectly with Montessori principles. Happy tent-making!